Quick installation of Java Apps
First, make sure you have installed the following tools:
- Docker
- Maven
Step 1: Write Your Java Program
- Here, directly generate a basic Spring Boot project through Spring Initializr.
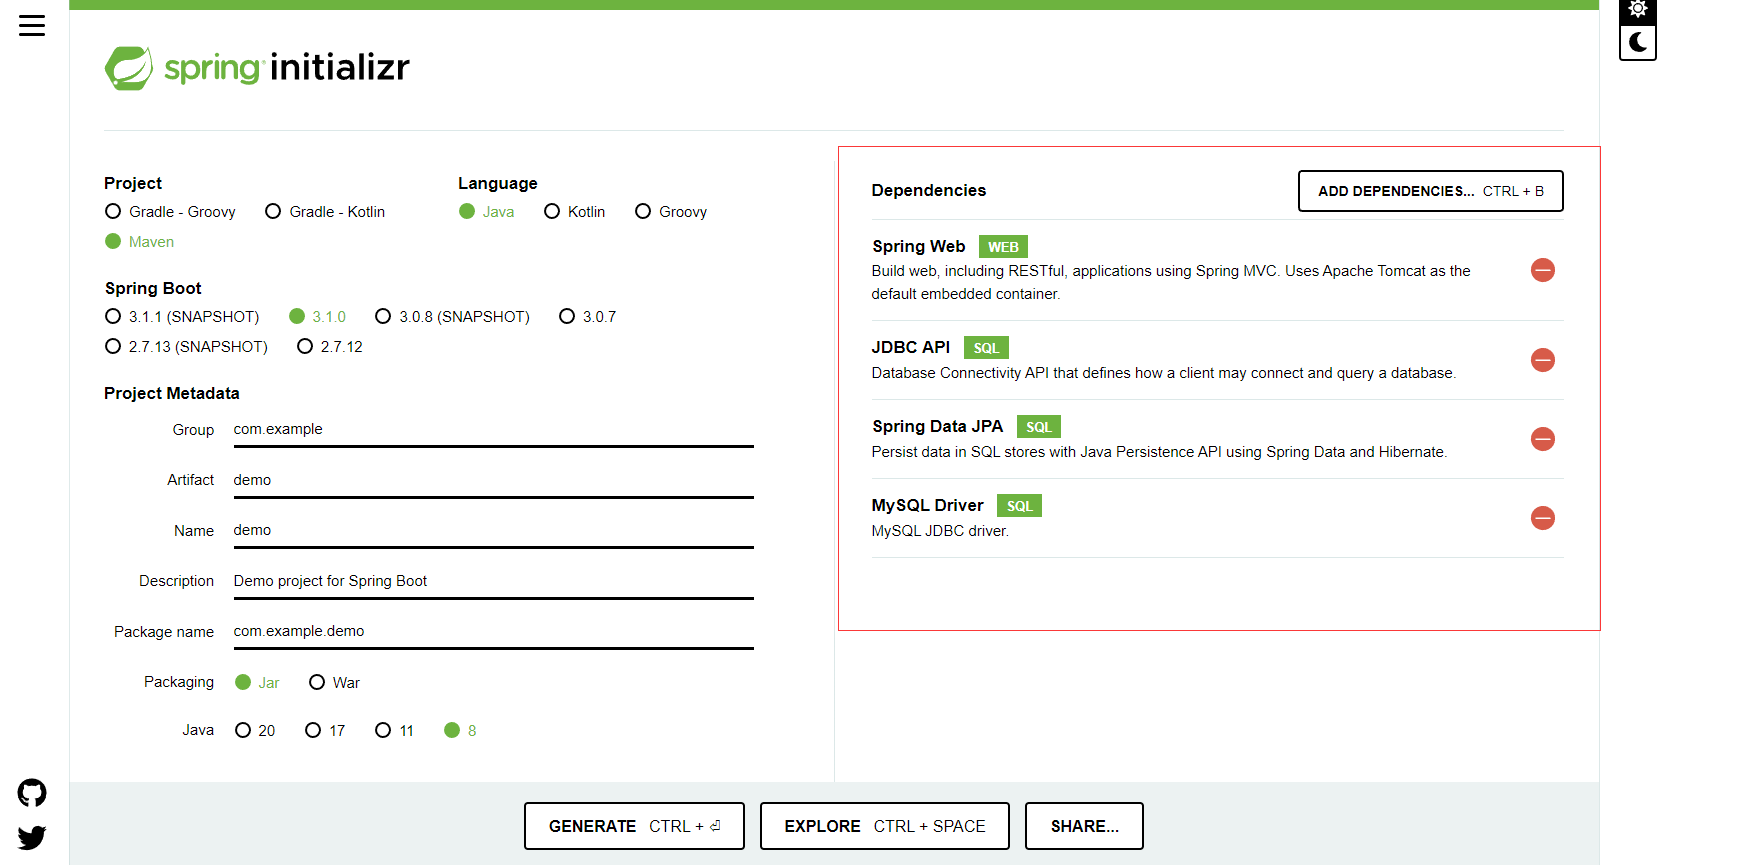
Open the project's
pom.xmlfile and add the following content to the<dependencies>section to include the MySQL JDBC driver:<dependency>
<groupId>mysql</groupId>
<artifactId>mysql-connector-java</artifactId>
</dependency>Next, add the following content to the
application.propertiesfile in thesrc/main/resourcesdirectory to configure the database connection:spring.datasource.url=jdbc:mysql://localhost:3306/test_db?useSSL=false&serverTimezone=UTC&characterEncoding=UTF-8
spring.datasource.username=root
spring.datasource.password=your_password
spring.jpa.hibernate.ddl-auto=update
Step 2: Create Entity and Repository Classes
Create a new Java class in the project, such as Person.java, to represent the entity in the database. Add the
following content:
import javax.persistence.Entity;
import javax.persistence.GeneratedValue;
import javax.persistence.GenerationType;
import javax.persistence.Id;

@Entity
public class Person {
    @Id
    @GeneratedValue(strategy = GenerationType.IDENTITY)
    private Long id;
    private String name;

    // Getters and setters
    // ...
}
Then create a repository interface, such as
PersonRepository.java:import org.springframework.data.jpa.repository.JpaRepository;
import org.springframework.stereotype.Repository;
@Repository
public interface PersonRepository extends JpaRepository<Person, Long> {
}
Step 3: Create a Web Controller
- In the
src/main/javadirectory of the project, create a simple web controller. For example, create a file namedPersonController.javaand add the following content:
import org.springframework.beans.factory.annotation.Autowired;
import org.springframework.web.bind.annotation.*;

import java.util.List;

@RestController
public class PersonController {
    @Autowired
    private PersonRepository personRepository;

    @GetMapping("/getPersons")
    public String getAllPersons() {
        List<Person> persons = personRepository.findAll();
        StringBuilder sb = new StringBuilder();
        for (int i = 0; i < persons.size(); i++) {
            sb.append("id: " + persons.get(i).getId() + " name: " + persons.get(i).getName() + "/n");
        }
        System.out.println(sb.toString());
        return sb.toString();
    }

    @PostMapping(value = "/addPerson")
    public Person addPerson(@RequestBody Person person) {
        return personRepository.save(person);
    }


}
Step 4: Build the Application
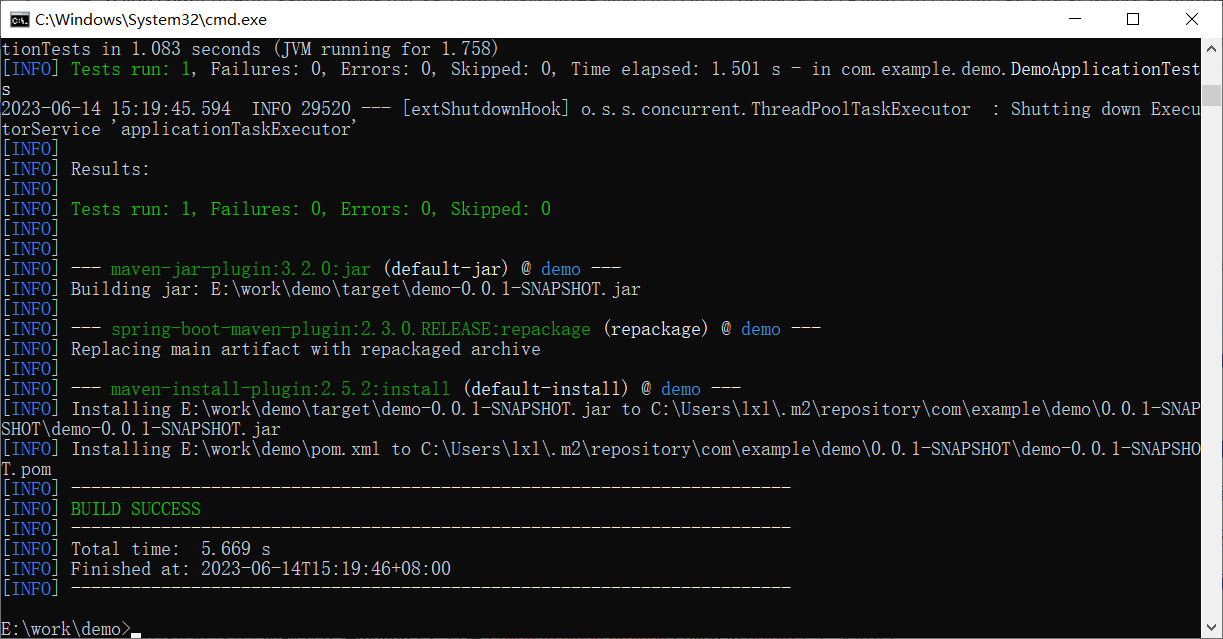
Build the project using Maven by running the following command:
mvn clean install
Step 5: Create a Docker Image
In the root directory of the Java project, create a file named
Dockerfile. This file will contain the instructions required to build the Docker image. Here's a simple example Dockerfile:# Use the official OpenJDK image as the base image
FROM openjdk:8-jre-slim
# Set the working directory
WORKDIR /app
# Copy the built JAR file into the image
COPY target/demo-0.0.1-SNAPSHOT.jar /app/demo-0.0.1-SNAPSHOT.jar
# Expose the application's port
EXPOSE 8080
# Set the start command
CMD ["java", "-jar", demo-0.0.1-SNAPSHOT.jar"]
```In the project root directory, run the following command to build the Docker image:
docker build -t java-demo .
Step 6: Push the Docker Image
Push the created Docker image to a Docker repository, such as Docker Hub or a private repository. Assuming you are already logged in to the Docker repository, use the following command to push the image:
First, tag the Docker image. Before pushing an image, you need to add a tag to it so that Docker knows where to push it. Run the following command to add a tag to the image:
docker tag your-image-name your-dockerhub-username/your-repo-name:your-tagReplace
your-image-namewith your local image name,your-dockerhub-usernamewith your Docker Hub username,your-repo-namewith the repository name you want to create on Docker Hub, andyour-tagwith the tag you set for the image (e.g.,latest).Then, push the tagged image to the Docker repository:
docker push your-dockerhub-username/your-repo-name:your-tag
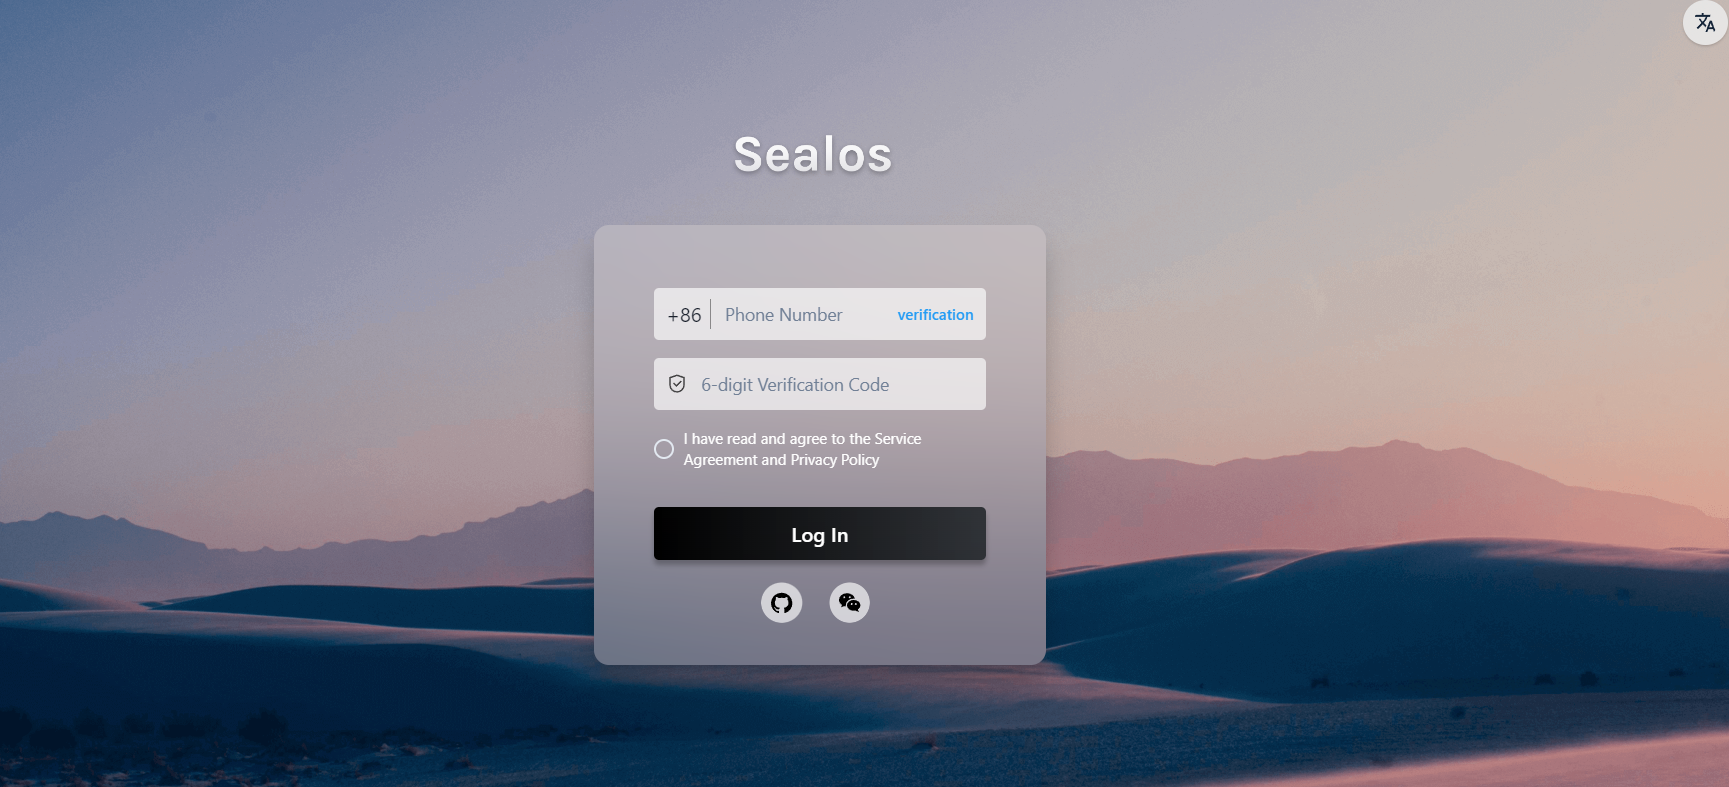
Step 7: Log in to Sealos
- Visit the Sealos official website
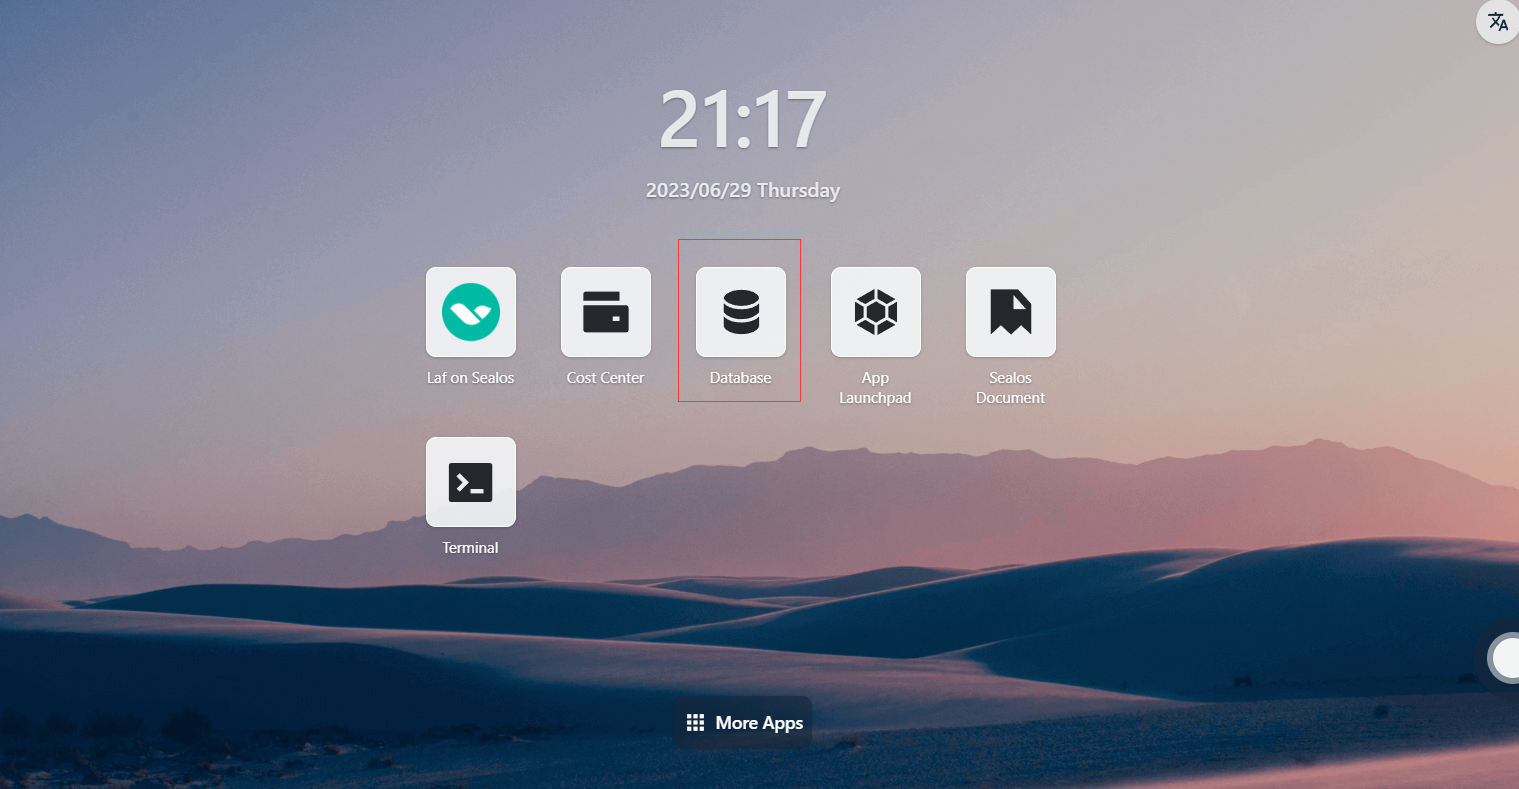
Step 8: Open the "Database" application
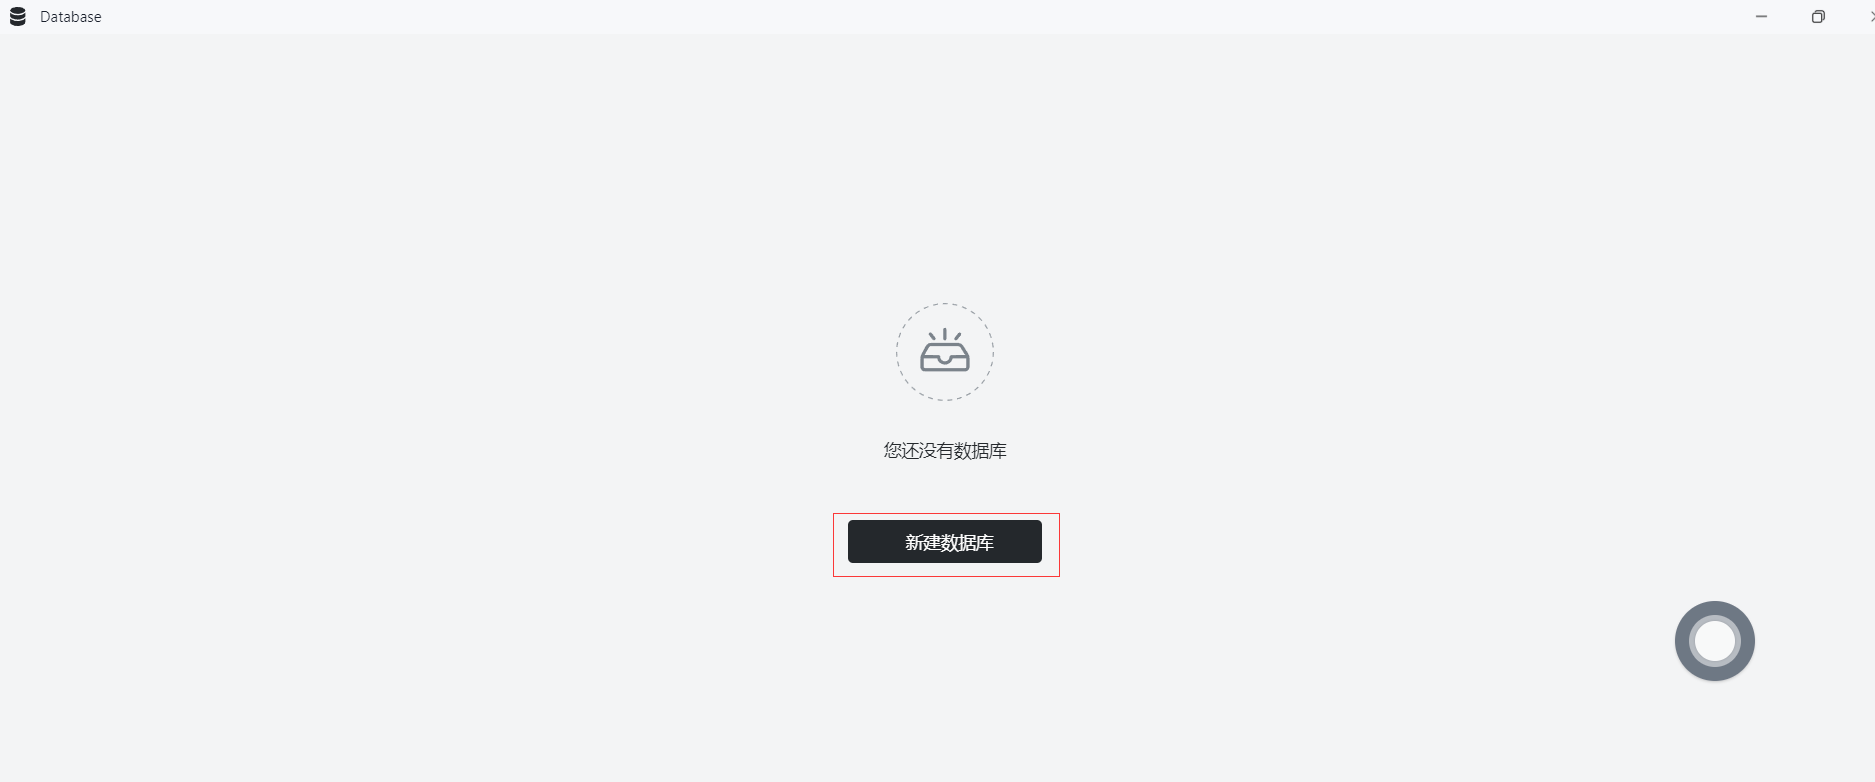
Step 9: Create a database
- Click on "Create New Database"
- Basic configuration:
- Cluster type: mysql
- Cluster name: demo-db
- CPU (recommended): 1 Core
- Memory (recommended): 1 G
- Number of instances: 1
- Storage capacity: 1 Gi
- Click "Deploy Cluster"
Step 10: Configure the database
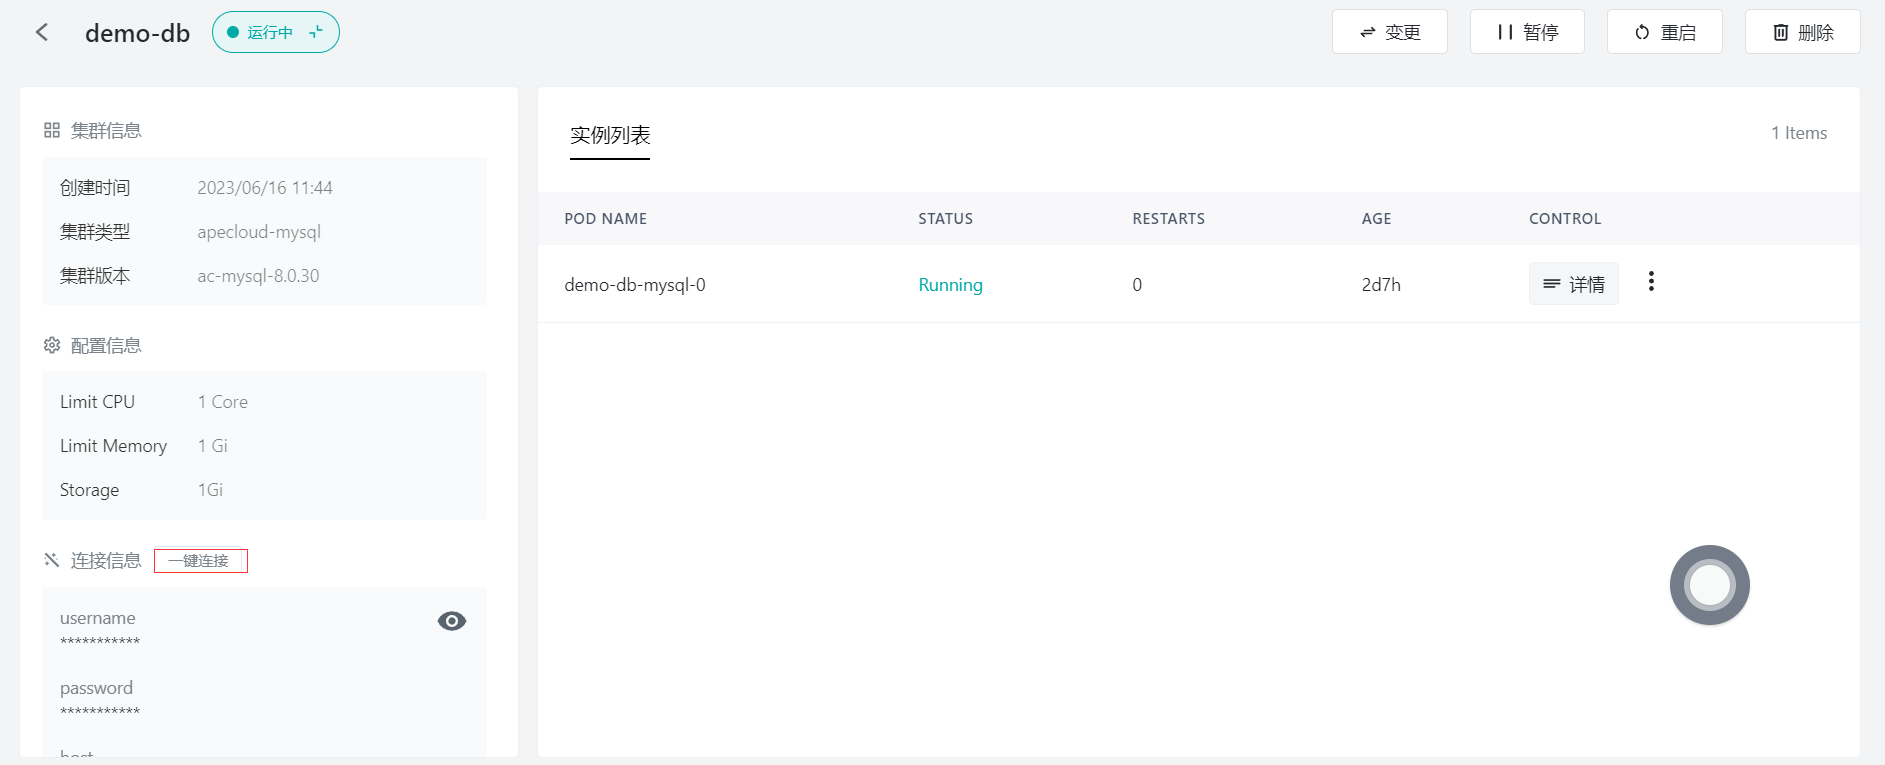
Click on "One-click Connect to Database" and execute the following statements:
Create the
test_dbdatabasecreate database test_db;Create the
testtableCREATE TABLE `name_info` (
`id` int(11) NOT NULL,
`name` varchar(12) COLLATE utf8mb4_unicode_ci DEFAULT NULL,
PRIMARY KEY (`id`)
);Insert data
insert into test values (1,'Sealos');
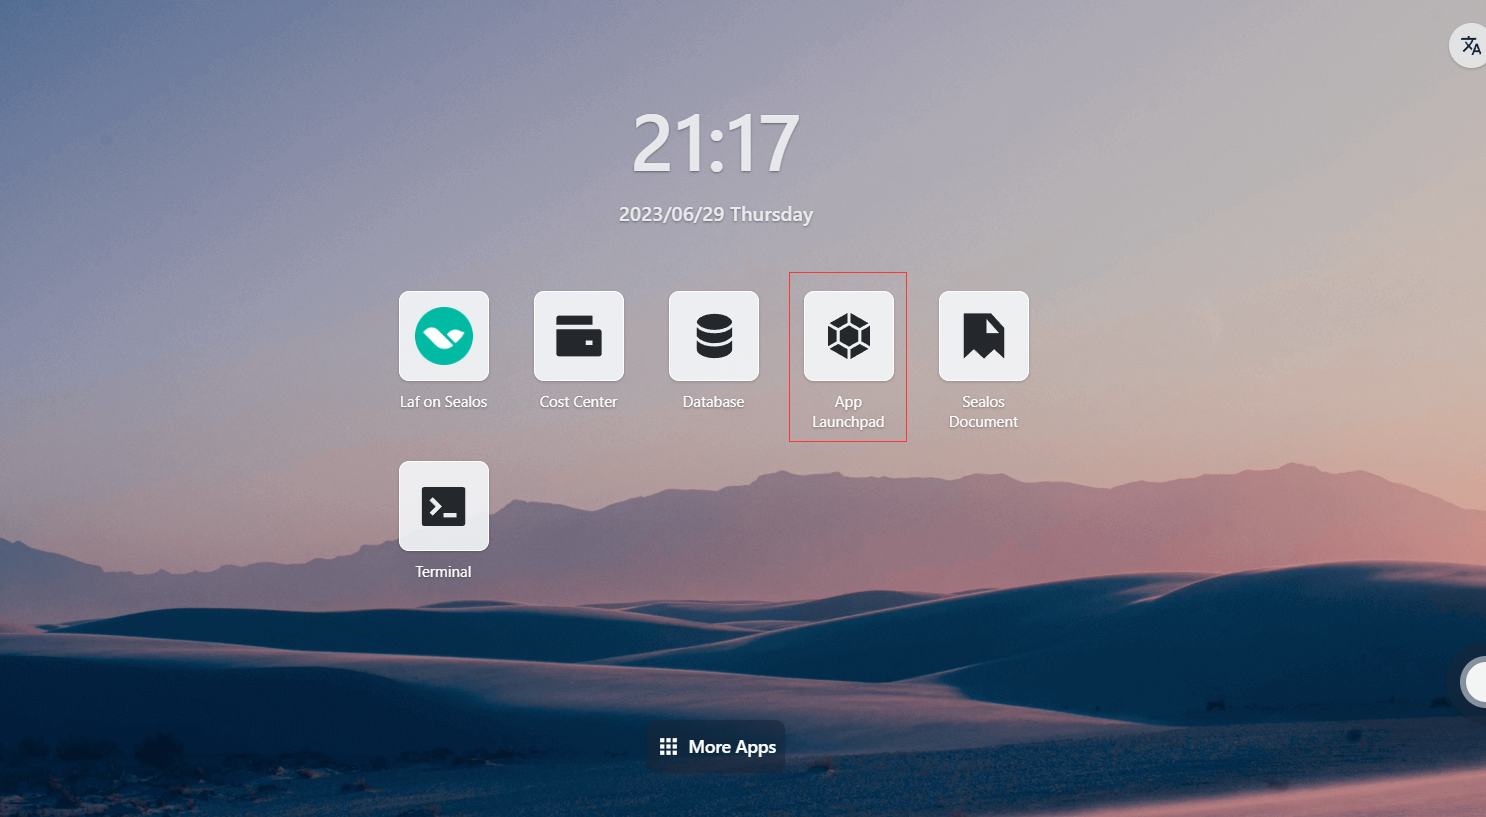
Step 11: Open the "App Launchpad" application
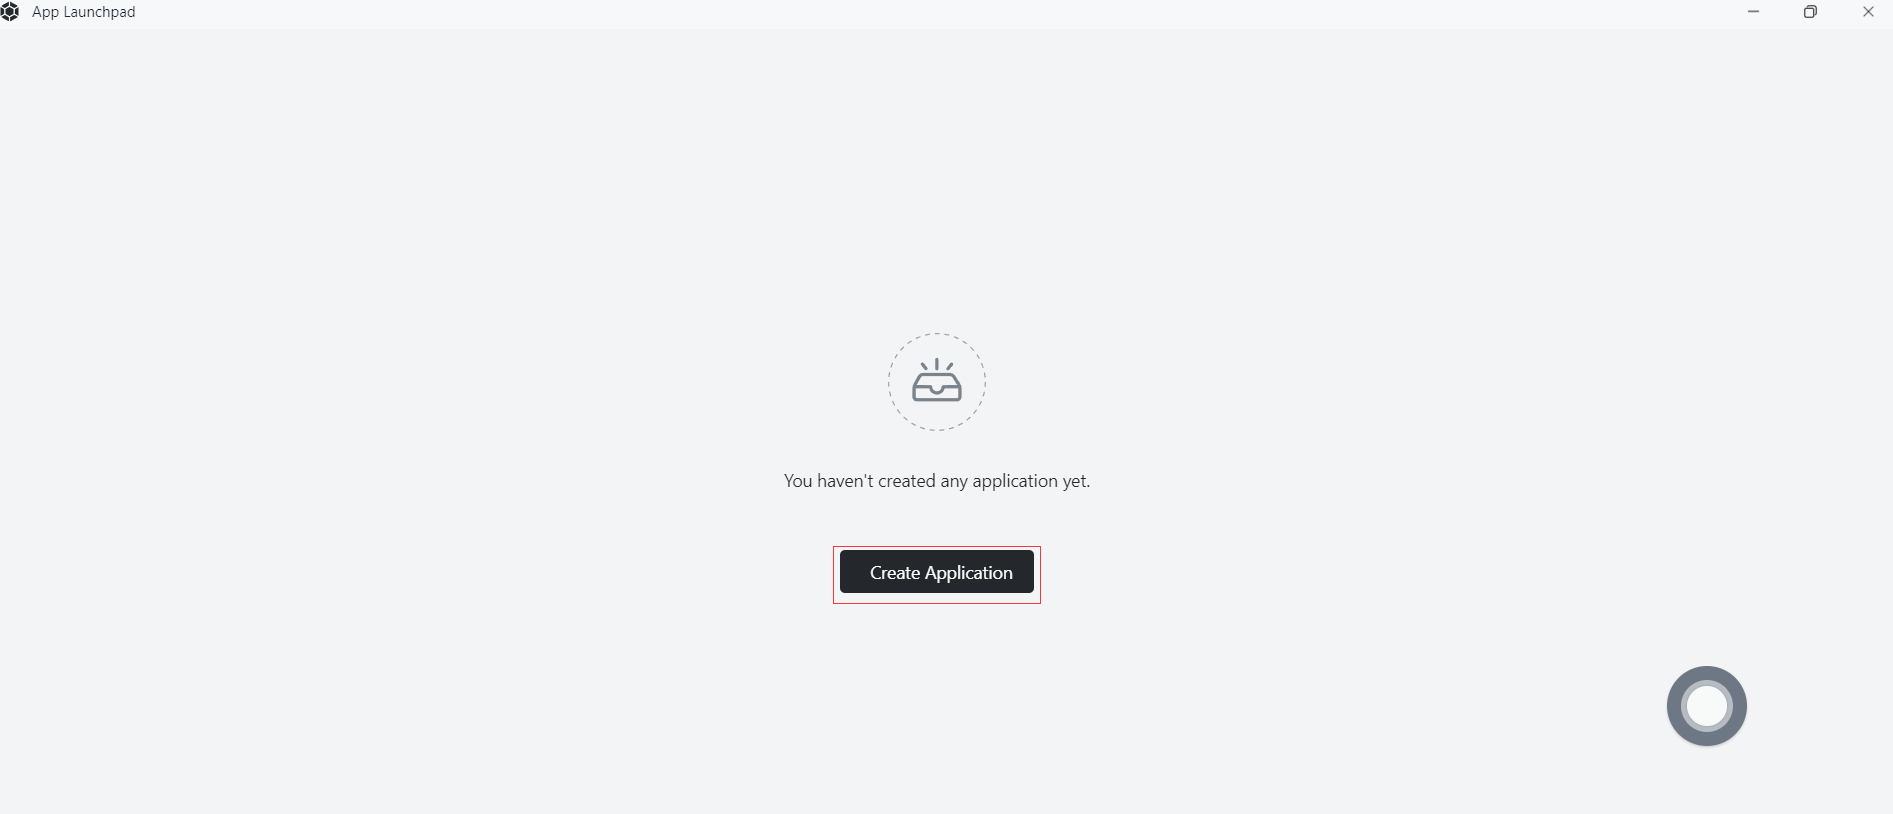
Step 12: Create a new application
- In "App Launchpad", click on "Create New Application" to create a new application.
Step 13: Deploy the application
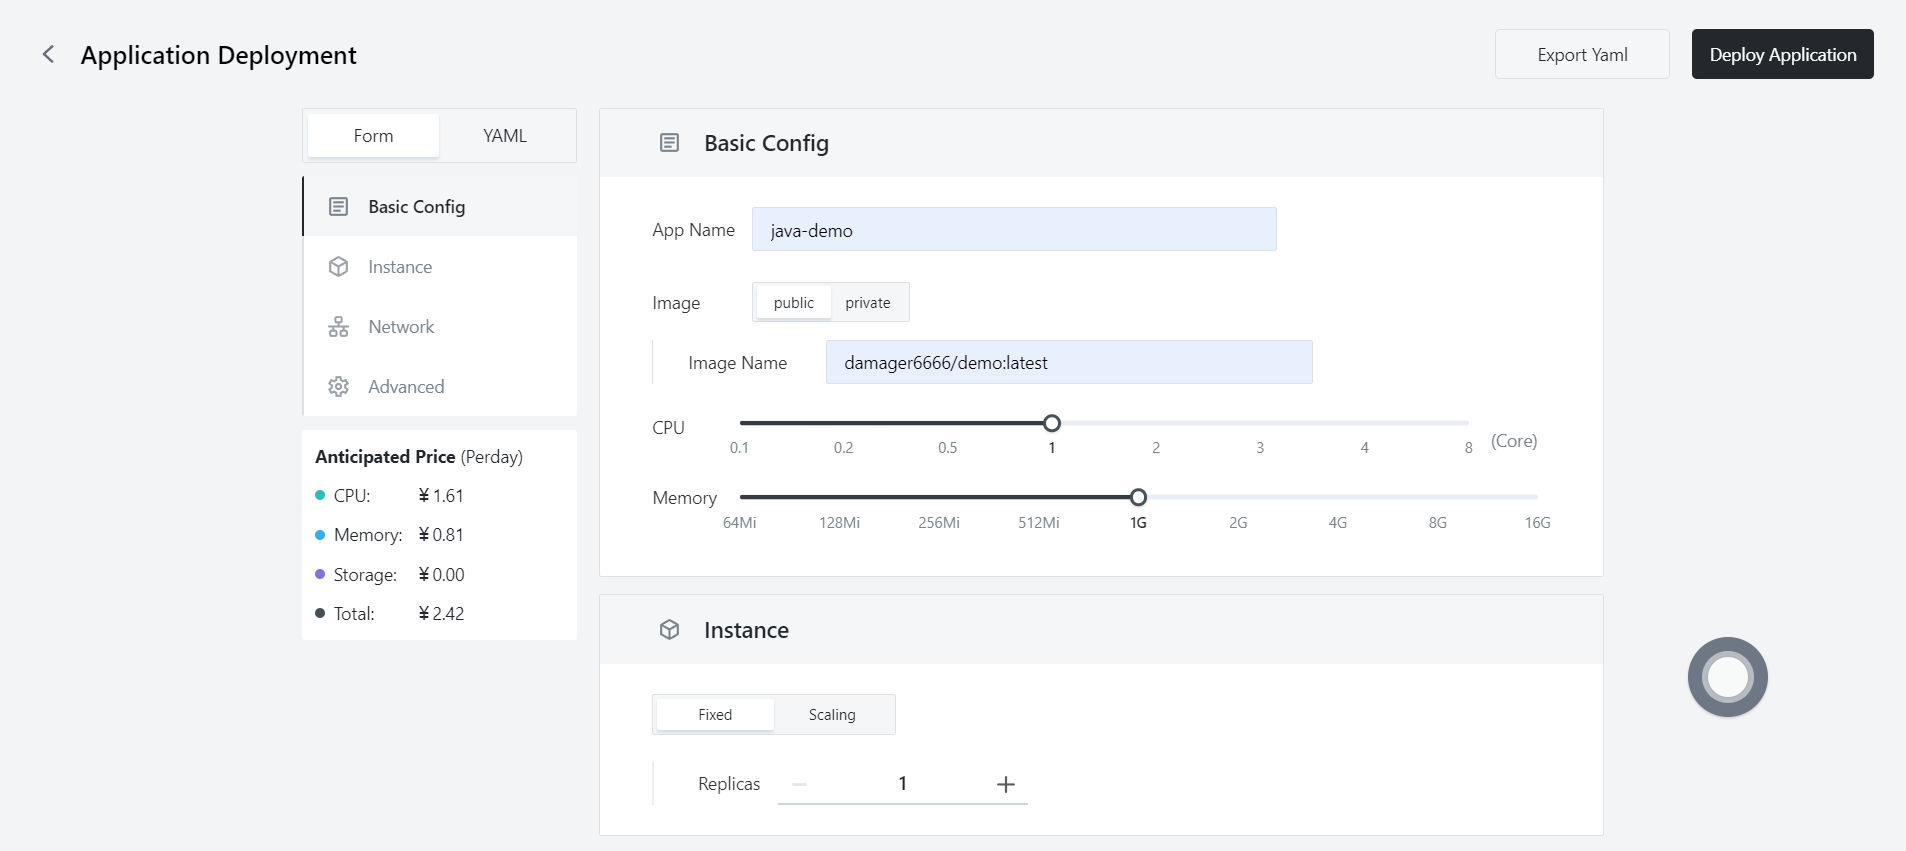
- Basic configuration:
- Application name (custom): java-demo
- Image name: damager6666/java-demo:v2
- CPU (recommended): 1 Core
- Memory (recommended): 1 G
- Deployment mode:
- Number of instances (custom): 1
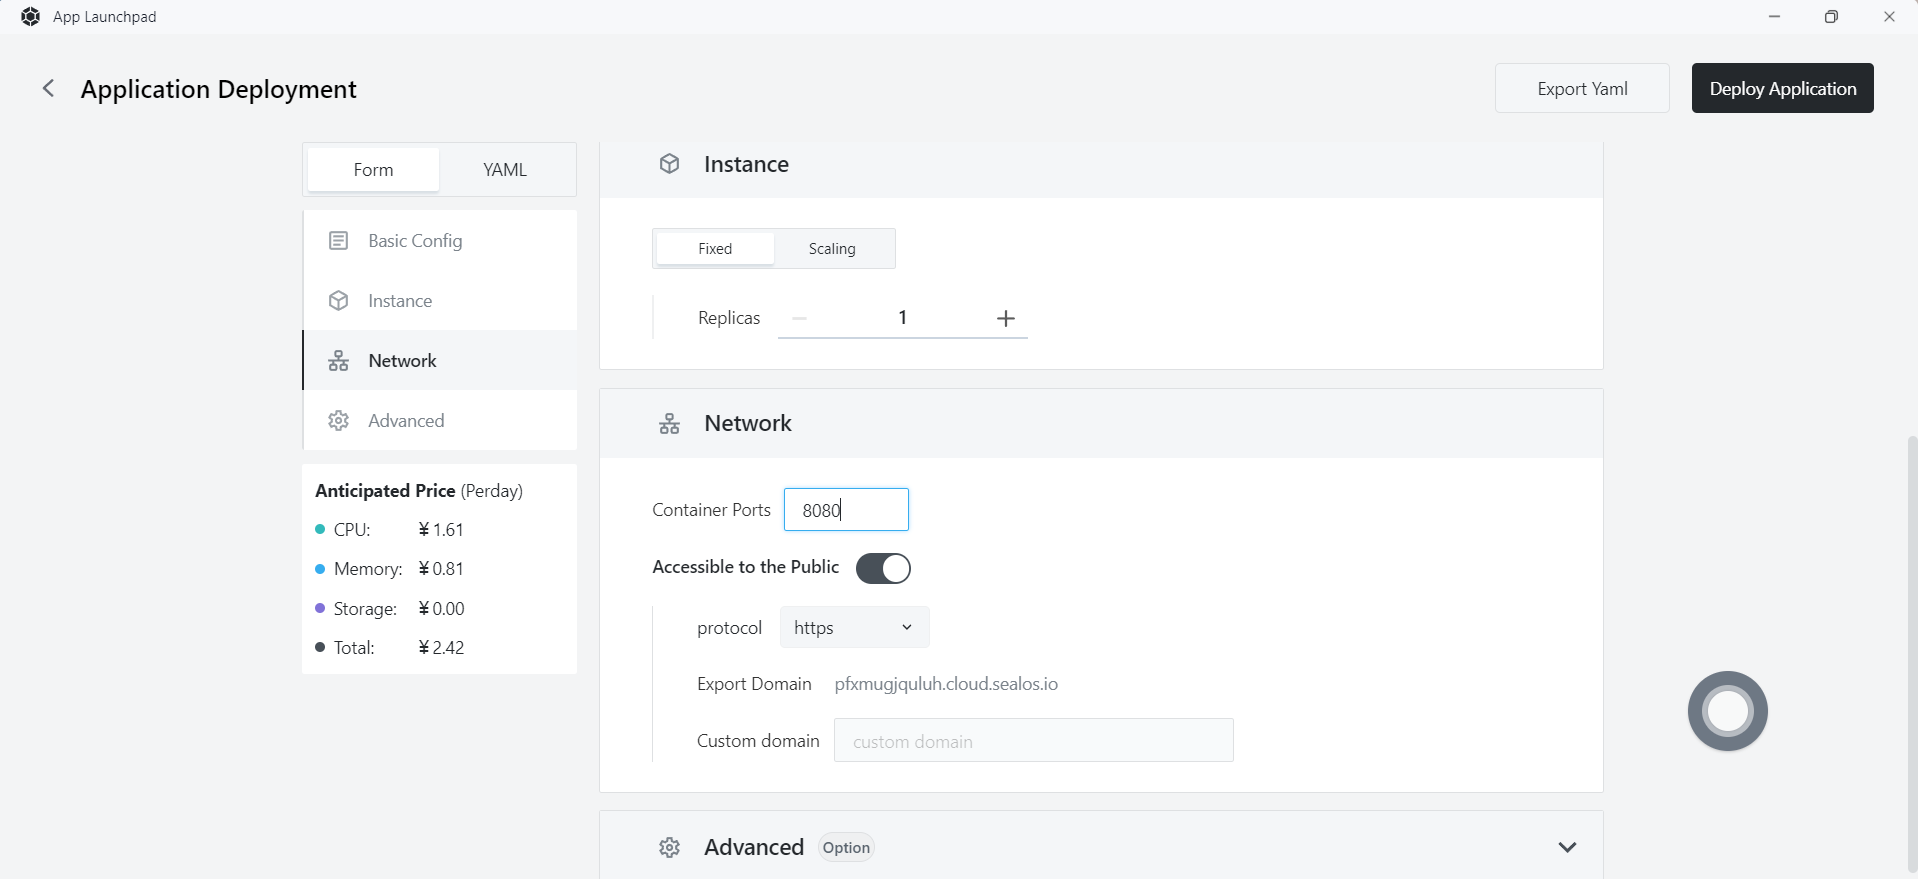
- Network configuration:
- Exposed container port: 8080
- Public network access: enabled
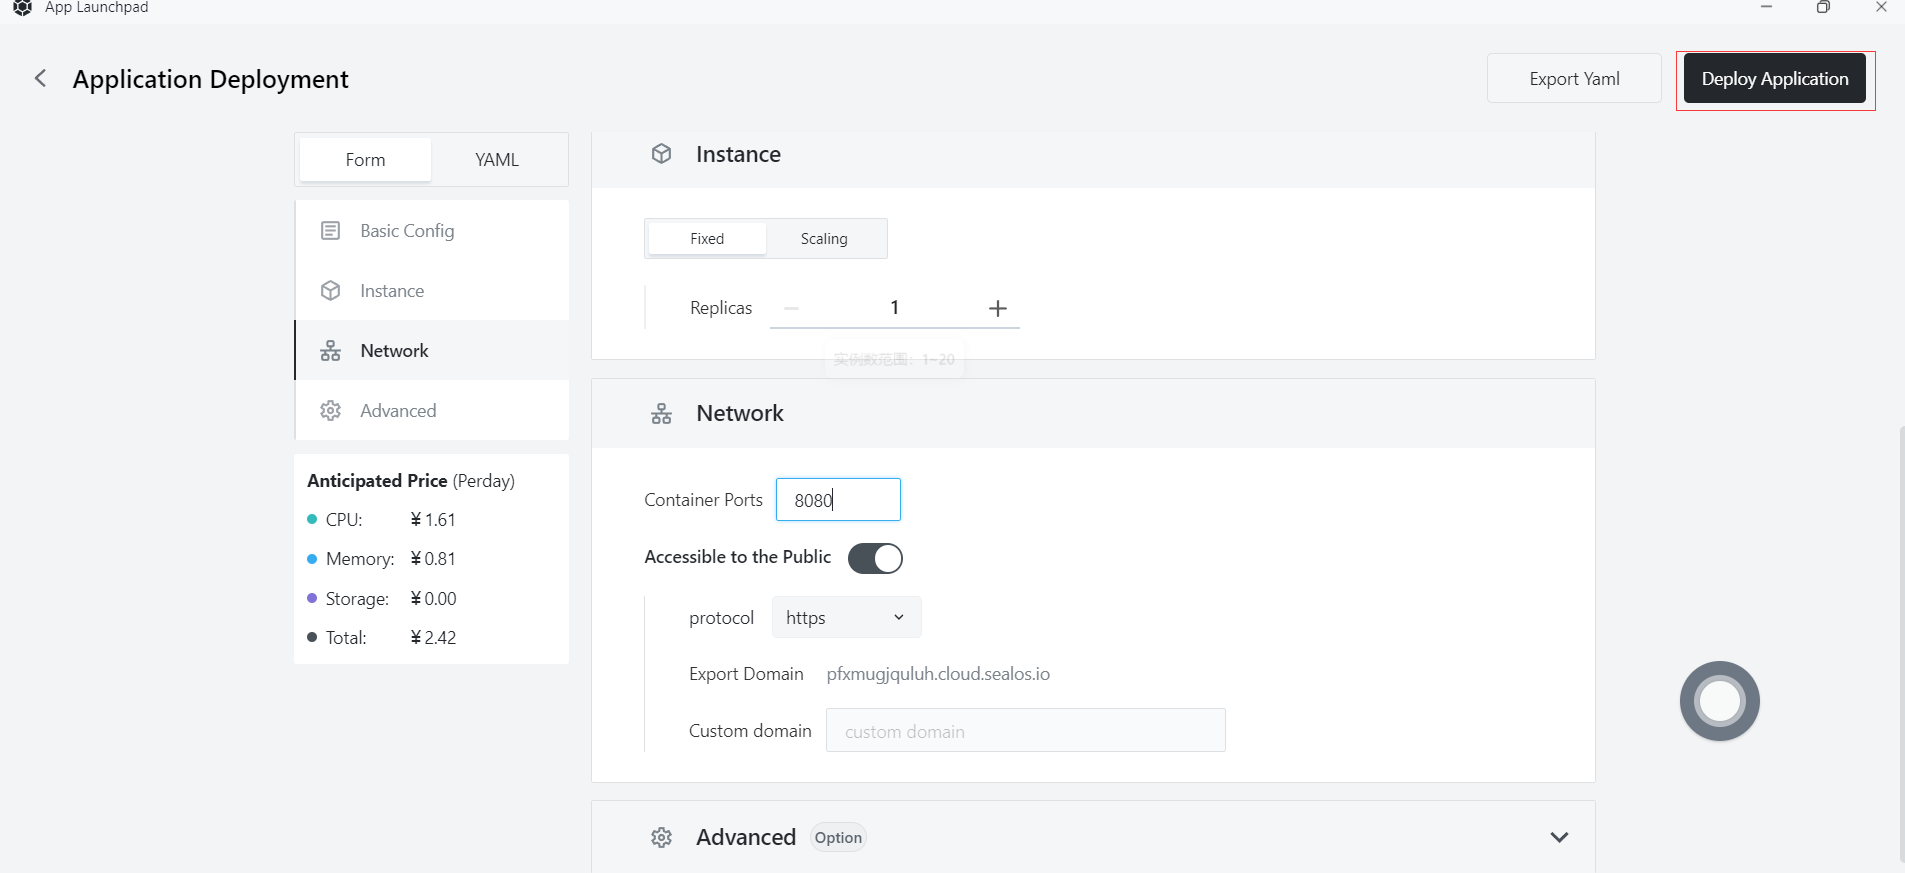
Step 14: Deploy the application
- Click on "Deploy Application" to start deploying the application.
Step 15: Access the application
- Click on "Application Management" to view the application. When the application's STATUS changes from Pending to Running, it indicates that the application has started successfully.
- When the STATUS is Running, you can directly access the public network address.
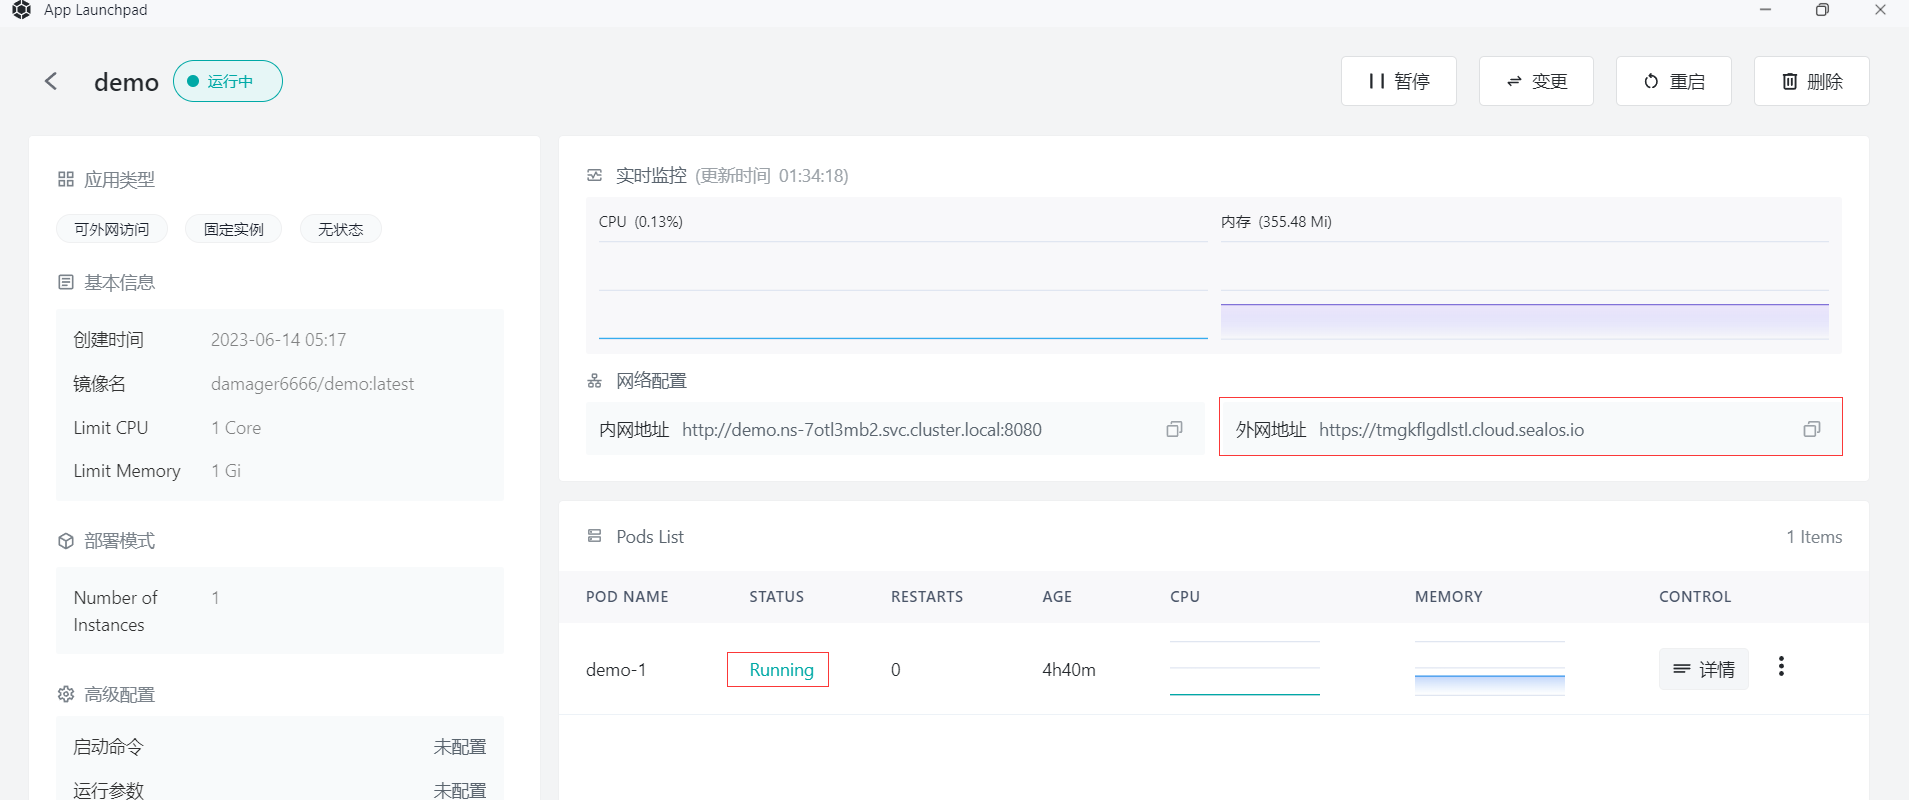
- Enter the following in your browser:
https://tmgkflgdlstl.cloud.sealos.io/getPersons
- The page displays the data inserted into the database earlier, indicating that your Java application is now running on Sealos.